
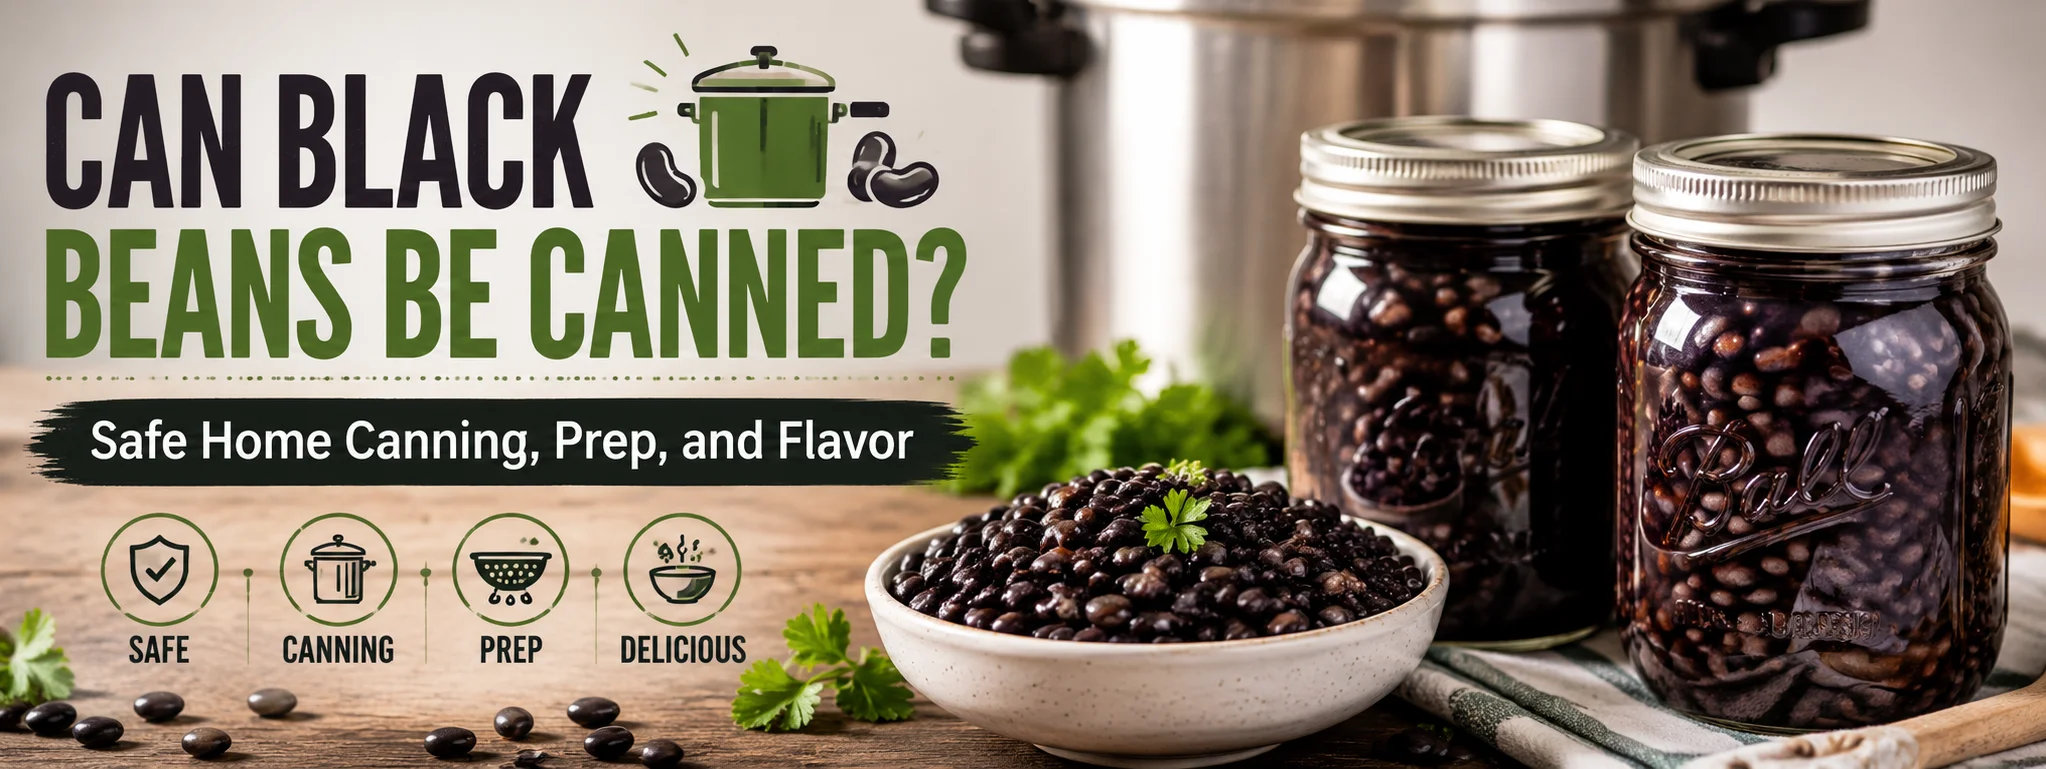
If you have ever stared at a bulk bag of dried black beans in your pantry and wondered, “Can black beans be canned at home?”—the short answer is a resounding yes.
Not only can you safely preserve black beans at home, but doing so gives you total control over sodium levels, texture, and seasonings. Store-bought canned beans often carry excess sodium, firming agents, or a metallic aftertaste from long-term storage in tin cans. Home-canned black beans yield a buttery, tender texture and a deep, rich broth that outperforms commercial alternatives every single time.
However, because black beans are a low-acid food, they require specific equipment and techniques to ensure they are safe to eat. In this comprehensive guide, we will break down the essential science of canning black beans, walk step-by-step through the process, share expert tips for optimal flavor, and answer the most common questions about pressure canning legumes.
The Science of Canning Black Beans: Why Acid Levels Matter
To understand how to safely preserve black beans, you must first understand food acidity.
In home food preservation, foods are generally divided into two categories:
-
High-Acid Foods (pH 4.6 or lower): Fruits, jams, jellies, pickling recipes, and tomato products with added acid. These can be safely processed in a simple boiling water bath because high acidity prevents the growth of Clostridium botulinum spores.
-
Low-Acid Foods (pH higher than 4.6): Meats, seafood, poultry, dairy, and almost all plain vegetables—including black beans, which typically sit around a pH of 5.7 to 6.2.
Because black beans lack natural acidity, you cannot preserve them using a boiling water bath canner. The temperature of boiling water (212°F or 100°C at sea level) is insufficient to destroy heat-resistant botulism spores in a low-acid environment.
The Mandate for Pressure Canning
To render low-acid foods entirely safe, you must reach a processing temperature of at least 240°F (116°C). The only residential appliance capable of reaching and maintaining this temperature is a pressure canner.
Safety Warning: Do not attempt to preserve black beans using an electric multi-cooker or Instant Pot unless the manufacturer explicitly certifies that the appliance meets standard test criteria for pressure canning safety. Standard pressure cookers do not hold heat and pressure uniformly enough to guarantee botulism destruction during home canning cycles.
Choosing Your Method: Hot Pack vs. Raw Pack
When preparing black beans for the pressure canner, you have two primary methods: the Hot Pack method and the Raw Pack (or Dry Pack) method.
Method 1: The Hot Pack Method (USDA Recommended)
The USDA-tested method requires hydrated beans to be boiled for 30 minutes before being packed into jars with fresh boiling liquid.
-
Pros: Ensures consistent heat penetration, reduces starch buildup, allows beans to expand fully before entering the jar, and yields a predictable texture.
-
Cons: Takes slightly longer during the active prep stage.
Method 2: The Raw/Hydrated Pack Method
With this variation, beans are fully hydrated (soaked overnight), but skipped through the 30-minute pre-boil. They are packed directly into jars, covered with boiling water, and processed.
-
Pros: Saves a cooking step; beans tend to stay whole with fewer split skins.
-
Cons: Liquid can turn very starchy, and improper bean-to-water ratios can result in dry, un-submerged beans at the top of the jar.
Step-by-Step Guide to Pressure Canning Black Beans
Equipment Needed
-
Pressure Canner (weighted or dial gauge)
-
Mason Jars (Pint or Quart) with fresh two-piece lids and bands
-
Jar lifter, canning funnel, and bubble remover/deboning tool
-
Large stockpot for soaking and boiling
Ingredients
-
Dried Black Beans (approx. 3/4 lb to 1 lb per quart jar)
-
Boiling water or clear, low-sodium vegetable/chicken stock
-
Canning salt (optional, 1/2 tsp per pint / 1 tsp per quart)
-
Aromatics (optional: bay leaf, cumin, garlic powder)
Step 1: Rehydration (The Overnight or Quick-Soak)
Dried beans double or triple in size as they absorb moisture. Rehydrating them thoroughly prior to packing is critical.
-
Overnight Soak: Place dried beans in a large bowl, cover with at least 3 inches of cold water, and allow them to rehydrate for 8 to 12 hours. Drain and rinse thoroughly.
-
Quick Soak: Place washed beans in a large pot, cover with 3 inches of water, and bring to a rapid boil for 2 minutes. Remove from heat, cover the pot, and let stand for 1 hour. Drain and rinse.
Step 2: The Pre-Boil (Hot Pack)
Cover your rehydrated beans with fresh water in a large stockpot. Bring to a boil and simmer gently for 30 minutes.
Step 3: Jar Preparation and Filling
-
Wash your jars, lids, and bands in warm, soapy water. Keep the jars warm to prevent thermal shock when adding hot liquid.
-
Using a funnel, ladle the warm beans into your warm jars, leaving approximately 1 inch of headspace.
-
Add canning salt if desired (1/2 teaspoon per pint, 1 teaspoon per quart).
-
Pour boiling water or warm stock over the beans, strictly maintaining the 1-inch headspace.
Headspace Tip: Black beans contain natural starches that expand further under pressure. Leaving less than 1 inch of space at the top can cause siphoning (liquid leaking out of the jar), which prevents a proper seal.
Step 4: Debubbling and Sealing
-
Slide a plastic bubble remover down the sides of the jar to release trapped air pockets.
-
Adjust liquid level if necessary to maintain the 1-inch headspace.
-
Wipe the jar rims with a clean, damp cloth or paper towel dipped in vinegar to clear any starch or grease.
-
Place the lid flat on top and screw the band down until fingertip tight (do not overtighten).
Step 5: Processing in the Pressure Canner
-
Add 2 to 3 inches of water to your pressure canner and heat it until warm (not boiling).
-
Place jars onto the canner rack using a jar lifter.
-
Lock the canner lid in place, leaving the vent pipe wide open.
-
Turn heat to high and allow steam to vent steadily for 10 full minutes before applying the weight or closing the petcock.
-
Bring the canner to the required pressure based on your elevation:
| Elevation | Weighted Gauge | Dial Gauge |
| 0 – 1,000 ft | 10 lbs | 11 lbs |
| 1,001 – 2,000 ft | 15 lbs | 11 lbs |
| 2,001 – 4,000 ft | 15 lbs | 12 lbs |
| 4,001 – 6,000 ft | 15 lbs | 13 lbs |
| Above 6,000 ft | 15 lbs | 14 lbs |
-
Process according to jar size:
-
Pints: 75 minutes
-
Quarts: 90 minutes
-
Step 6: Cooling down
When processing time ends, turn off the heat and allow the pressure to drop to zero naturally. Never force-cool the canner by running cold water over it or pulling the pressure weight off prematurely. Sudden pressure changes will cause liquid to siphon out of the jars and buckle the lids.
Once depressurized, carefully remove the lid, let jars sit for 10 minutes inside the canner, then transfer them to a towel-lined counter. Leave them undisturbed for 12 to 24 hours to cool completely.
Flavor Enhancement Strategies for Canned Black Beans
Plain home-canned beans are great, but adding subtle aromatics into each jar turns them into instant side dishes.
-
Cuban Style: Add 1 small bay leaf, a pinch of dried oregano, a pinch of cumin, and 1 finely minced clove of garlic per pint jar.
-
Smoky Southwestern: Add 1/2 teaspoon of smoked paprika and a piece of dried chipotle chili pepper.
-
Rich Savory Base: Replace half of the boiling water with low-sodium vegetable or chicken broth.
Avoid adding thickeners like flour, cornstarch, or heavy purees to jars before canning, as they obstruct heat distribution and make the product unsafe.
Frequently Asked Questions
1. Can I safely home-can black beans without a pressure canner?
No. Black beans are low-acid (pH > 4.6). A boiling water bath canner cannot exceed 212°F (100°C), which is insufficient to destroy Clostridium botulinum spores. A pressure canner is required.
2. Why are my canned black beans mushy or split open?
Over-soaking or over-boiling during pre-prep can break down cell walls before canning begins. Older dried beans may also absorb water unevenly. Stick strictly to a 30-minute pre-boil, and ensure beans aren’t boiling at a rolling, violent boil.
3. Can I pack dry, unsoaked black beans directly into jars and can them?
While some home preservers use “dry-pack” methods informally, it is not recommended by the USDA or NCFHP. Unsoaked beans absorb massive amounts of water during processing, leading to uneven heat distribution and dry jars. Always hydrate beans fully before canning.
4. Is the dark, thick liquid in my canned black beans safe to use?
Yes. Black beans release starches and natural pigments during high-pressure processing, turning the liquid into a dark, rich broth. This starch-filled liquid is completely safe and excellent for thickening soups and stews.
5. How long do home-canned black beans last on the shelf?
When stored in a cool, dark, dry place with bands removed, home-canned black beans retain top quality for 12 to 18 months. They remain safe beyond that time as long as the seal remains tight and undamaged.
Final Thoughts
Learning how to can black beans is one of the most rewarding skills in home food preservation. Preserving your own legumes turns cheap dried bulk goods into ready-to-eat pantry staples free of excess salt, artificial preservatives, or chemical can linings.