
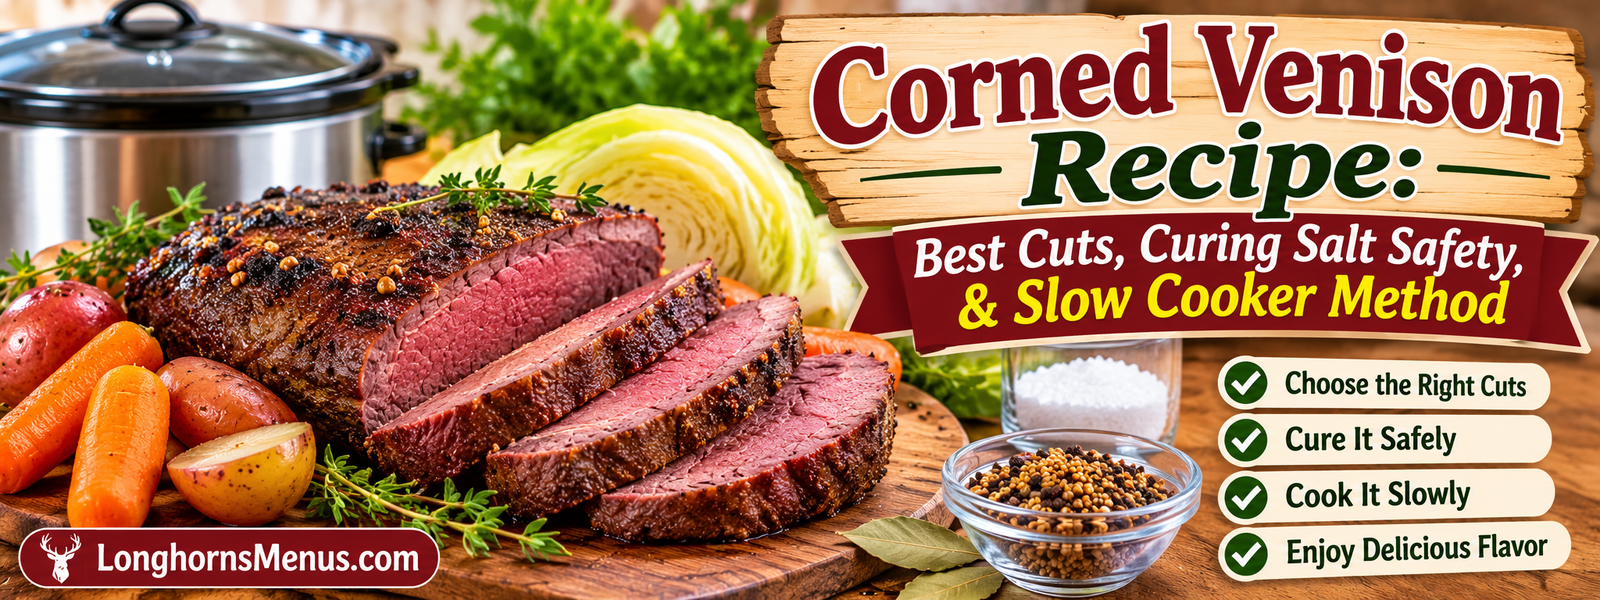
A homemade Corned Venison Recipe is a delicious way to transform lean deer meat into a tender, flavorful meal. Inspired by traditional corned beef, this preparation uses a seasoned brine, carefully measured curing salt, and slow cooking to create meat with a distinctive pink color, savory flavor, and satisfying texture.
Venison is naturally leaner than beef, making it an excellent choice for people who enjoy wild game and want to try something different. However, choosing the right cut and following proper curing procedures are especially important. A good brine develops flavor, while controlled curing and cooking help produce a safe and enjoyable result.
Whether you have a freshly processed deer roast or frozen venison from a previous hunting season, this guide explains how to prepare corned venison at home. You will learn which cuts work best, how curing salt should be handled, how to prepare the brine, and how to make tender corned venison in a slow cooker.
Why Try a Homemade Corned Venison Recipe?
Traditional corned beef is generally made from beef brisket that has been cured in a seasoned brine. Corned venison follows a similar approach but uses deer meat instead.
The word “corned” refers to the historical use of large grains of salt during the curing process. Today, the preparation usually involves a liquid brine containing salt, sugar, spices, and a precisely measured curing mixture.
Venison offers a slightly different eating experience because it contains less fat than many beef cuts. Its natural flavor pairs beautifully with garlic, bay leaves, mustard seeds, peppercorns, and warm spices.
Some reasons to try this recipe include:
- A flavorful way to prepare harvested deer meat.
- An alternative to traditional corned beef.
- A useful method for preparing larger venison roasts.
- A delicious filling for sandwiches and wraps.
- An excellent centerpiece for a comforting family dinner.
Best Venison Cuts for Corned Venison
Choosing the right cut is one of the most important decisions when preparing corned venison. Because deer meat is naturally lean, some cuts work better than others.
1. Venison Hindquarter Roast
The hindquarter provides several large muscles that can be trimmed into convenient roasts. These cuts are generally lean and have a firm texture.
A boneless hindquarter roast is a practical choice for home curing because it is easy to weigh, prepare, and fit into a suitable container.
2. Venison Shoulder
Shoulder meat contains more connective tissue than many hindquarter muscles. Slow cooking helps soften these tissues and produces a rich, tender result.
This cut is especially useful when you want shredded corned venison for sandwiches or other meals.
3. Venison Round
Round muscles from the hind leg are another good option. They can produce attractive slices when trimmed and cooked carefully.
Choose a reasonably uniform piece so the curing process and cooking are easier to manage.
4. Venison Backstrap
Backstrap is naturally tender and highly valued for its texture. However, it is usually better suited to quick cooking methods than long slow-cooker preparations.
You can experiment with it, but larger shoulder or hindquarter roasts are generally more practical for traditional corned venison.
Ingredients for Homemade Corned Venison
The ingredients below create a flavorful brine for approximately 3 pounds of trimmed venison. The curing salt is intentionally not assigned a universal quantity because the correct amount depends on the exact curing product and a tested curing formula.
Main Ingredients
| Ingredient | Amount | Purpose |
| Venison roast | 3 pounds | Main ingredient |
| Water | As required by tested brine formula | Brining liquid |
| Kosher salt | According to tested recipe | Seasoning and curing support |
| Brown sugar | According to tested recipe | Balances salty flavor |
| Garlic cloves | 4–5 | Savory aroma |
| Black peppercorns | 1 tablespoon | Warm flavor |
| Mustard seeds | 1 tablespoon | Traditional seasoning |
| Coriander seeds | 1 teaspoon | Aromatic flavor |
| Bay leaves | 3–4 | Herbal character |
| Whole cloves | 3–4 | Mild sweetness |
| Allspice berries | ½ teaspoon | Warm spice |
| Curing salt | Exact amount from tested recipe and product label | Controlled curing |
Important curing salt safety: Use only a curing product specifically intended for the curing method in your tested recipe. Prague Powder #1, Prague Powder #2, and ordinary pink Himalayan salt are not interchangeable. Never substitute table salt, Himalayan pink salt, or another curing mixture for the specified product.
Do not estimate curing salt with teaspoons or adjust the quantity based on taste. Measure the meat and ingredients by weight using a reliable digital scale, and follow the exact product instructions and a tested whole-muscle wet-curing formula. Excessive sodium nitrite can be toxic. University and food-safety guidance emphasizes careful control of curing ingredients and refrigeration.
How to Prepare the Corned Venison Brine
The brine is responsible for developing the characteristic flavor of corned venison. Preparing it properly helps distribute the seasoning throughout the meat.
Step 1: Prepare the Seasoning
Place the garlic, peppercorns, mustard seeds, coriander, bay leaves, cloves, and allspice in a small bowl.
Gently crush some of the whole spices to release their natural aroma. Avoid grinding everything into a fine powder because whole spices are easier to remove after brining.
Step 2: Prepare the Liquid Brine
Combine the water, kosher salt, and brown sugar according to a reliable, tested curing formula.
Heat the mixture as directed until the salt and sugar dissolve. Add the aromatic spices and allow their flavors to develop.
If the formula requires heating, cool the brine completely before introducing the venison.
Step 3: Add the Correct Curing Salt
Measure the specified curing salt separately using the exact product instructions and tested recipe.
Never use an approximate quantity or assume that every curing salt product has the same concentration.
Mix it thoroughly into the cooled brine as directed.
Step 4: Refrigerate the Brine
Place the venison in a clean, food-safe container and cover it completely with the prepared brine.
Use a food-safe weight or another suitable method to keep the meat submerged.
Keep the container refrigerated at 40°F or below throughout curing. The required curing period depends on the thickness of the meat and the tested process, so follow its exact schedule.
Do not cure venison at room temperature.
How to Make Corned Venison in a Slow Cooker
After the curing process is complete, slow cooking is a convenient way to turn the venison into a tender, flavorful meal.
Step 1: Remove and Rinse the Venison
Take the roast out of the brine and discard the used liquid.
Rinse the meat as directed by your curing recipe. If the finished meat seems particularly salty, follow a tested desalting procedure rather than soaking it for an arbitrary period.
Pat the venison dry with clean paper towels.
Step 2: Prepare the Slow Cooker
Place the venison roast inside the slow cooker.
Add:
- 1 sliced onion.
- 2 chopped carrots.
- 2 celery stalks.
- 2 garlic cloves.
- 2 bay leaves.
- Freshly cracked black pepper.
- Fresh water or unsalted stock to cover or partially surround the meat as appropriate for your appliance.
Avoid adding additional salt because the venison has already been cured.
Step 3: Add the Cooking Liquid
Pour in enough water or unsalted stock to surround the meat.
Add a small amount of the traditional pickling spices if you want a stronger aroma.
Make sure the slow cooker is not overfilled. Follow the manufacturer’s recommended filling limits.
Step 4: Cook Slowly Until Tender
Cover the slow cooker and cook on LOW or HIGH according to its manufacturer’s instructions and the size of the roast.
Cooking time varies with the cut, thickness, starting temperature, and appliance. A smaller roast will generally become tender sooner than a thick shoulder piece.
Check the internal temperature with a food thermometer. Whole cuts of venison should reach at least 145°F, followed by a three-minute rest, as a minimum whole-cut safety guideline. For the traditional corned-meat texture, continue cooking until the connective tissue softens and a fork can easily enter the roast.
Do not rely on a fixed number of hours as a substitute for temperature and tenderness checks.
Step 5: Rest and Slice
Remove the cooked venison and let it rest briefly.
Slice it against the grain for more tender pieces. If the meat is extremely tender, use a sharp knife and support the roast carefully to keep the slices intact.
Serve immediately or use the meat in your favorite recipes.
Best Side Dishes to Serve With Corned Venison
Corned venison has a rich, savory flavor that works especially well with vegetables, potatoes, and fresh bread.
Here are five excellent serving ideas:
- Boiled cabbage: A traditional pairing that adds freshness and balances the richness of the meat.
- Roasted potatoes: Crispy potatoes provide a satisfying contrast to tender venison.
- Steamed carrots: Their natural sweetness complements the seasoned meat.
- Fresh rye bread: Use sliced corned venison to prepare hearty sandwiches.
- Creamy mustard sauce: A little mustard adds tanginess and enhances the traditional flavor.
For a complete dinner, serve sliced venison with cabbage, carrots, potatoes, and a spoonful of mustard.
Important Curing Salt Safety Tips
Curing salt deserves special attention because it contains concentrated curing ingredients that must be measured correctly.
Understand the Different Curing Salts
Prague Powder #1 commonly contains sodium nitrite diluted in salt and is used for specific short-term curing applications.
Prague Powder #2 contains both sodium nitrite and sodium nitrate and is intended for particular longer curing processes.
Neither product should be substituted for the other without a tested recipe that specifically calls for it.
Follow These Essential Precautions
- Read the label: Confirm the exact curing product and its concentration before use.
- Measure accurately: Weigh the meat, water, and curing ingredients according to the tested formula.
- Keep everything cold: Maintain refrigeration at 40°F or below throughout the curing process.
- Prevent contamination: Use clean equipment and food-safe containers.
- Never improvise: Do not increase, decrease, or replace curing salt based on personal preference.
Keep curing salts clearly labeled and stored securely away from ordinary seasonings, children, and pets.
For additional guidance, consult the University of Florida’s wild-game processing information and the USDA Food Safety and Inspection Service’s curing guidance.
How to Store Leftover Corned Venison
Proper storage helps maintain the flavor and quality of your homemade venison.
Refrigeration
Transfer cooked venison into an airtight container and refrigerate it within two hours of cooking.
Cooked venison leftovers should generally be used within 3–4 days when refrigerated at 40°F or below.
Freezing
For longer storage, divide the cooked meat into meal-sized portions.
Wrap each portion tightly or use freezer-safe containers. Label the packages with the preparation date.
Thaw frozen venison in the refrigerator and reheat leftovers to 165°F.
Reheating
Reheat sliced venison gently with a little unsalted broth or water. This helps maintain moisture and prevents the meat from becoming excessively dry.
Common Mistakes to Avoid
Even a well-prepared Corned Venison Recipe can produce disappointing results if important details are overlooked.
- Choosing the wrong cut: Very tender cuts such as backstrap are not always ideal for extended slow cooking.
- Using too much curing salt: Excessive nitrite can be dangerous, so never estimate the quantity.
- Curing at room temperature: Always maintain proper refrigeration.
- Adding too much seasoning salt: Cured venison already contains salt, so taste carefully before adding more.
- Slicing with the grain: Cutting against the grain helps create a more tender eating experience.
Final Thoughts
A homemade Corned Venison Recipe is an excellent way to enjoy deer meat with a completely different flavor and texture. By choosing a suitable shoulder or hindquarter roast, preparing a properly measured brine, and following safe curing procedures, you can create a delicious meal inspired by traditional corned beef.
The slow cooker makes the final preparation convenient, allowing the venison to become tender while absorbing the flavors of garlic, peppercorns, mustard seeds, and other aromatic spices.
Frequently Asked Questions (FAQs)
1. What is the best cut of venison for corned venison?
Boneless hindquarter roasts, round muscles, and shoulder cuts are practical choices. Shoulder is especially useful for slow cooking.
2. Can I make corned venison without curing salt?
You can prepare a seasoned venison roast without curing salt, but it will not be the same properly cured product. Do not treat an ordinary salt brine as an equivalent curing process.
3. How long should venison stay in the curing brine?
The curing period depends on the roast’s thickness and the tested curing formula. Follow the specified schedule rather than guessing.
4. Can I cook corned venison in a slow cooker?
Yes. After proper curing, slow cooking is a convenient way to prepare tender venison. Check its internal temperature and cook until fork-tender.
5. How long does cooked corned venison last?
Properly refrigerated cooked venison generally lasts 3–4 days in an airtight container. Freeze portions for longer storage.