
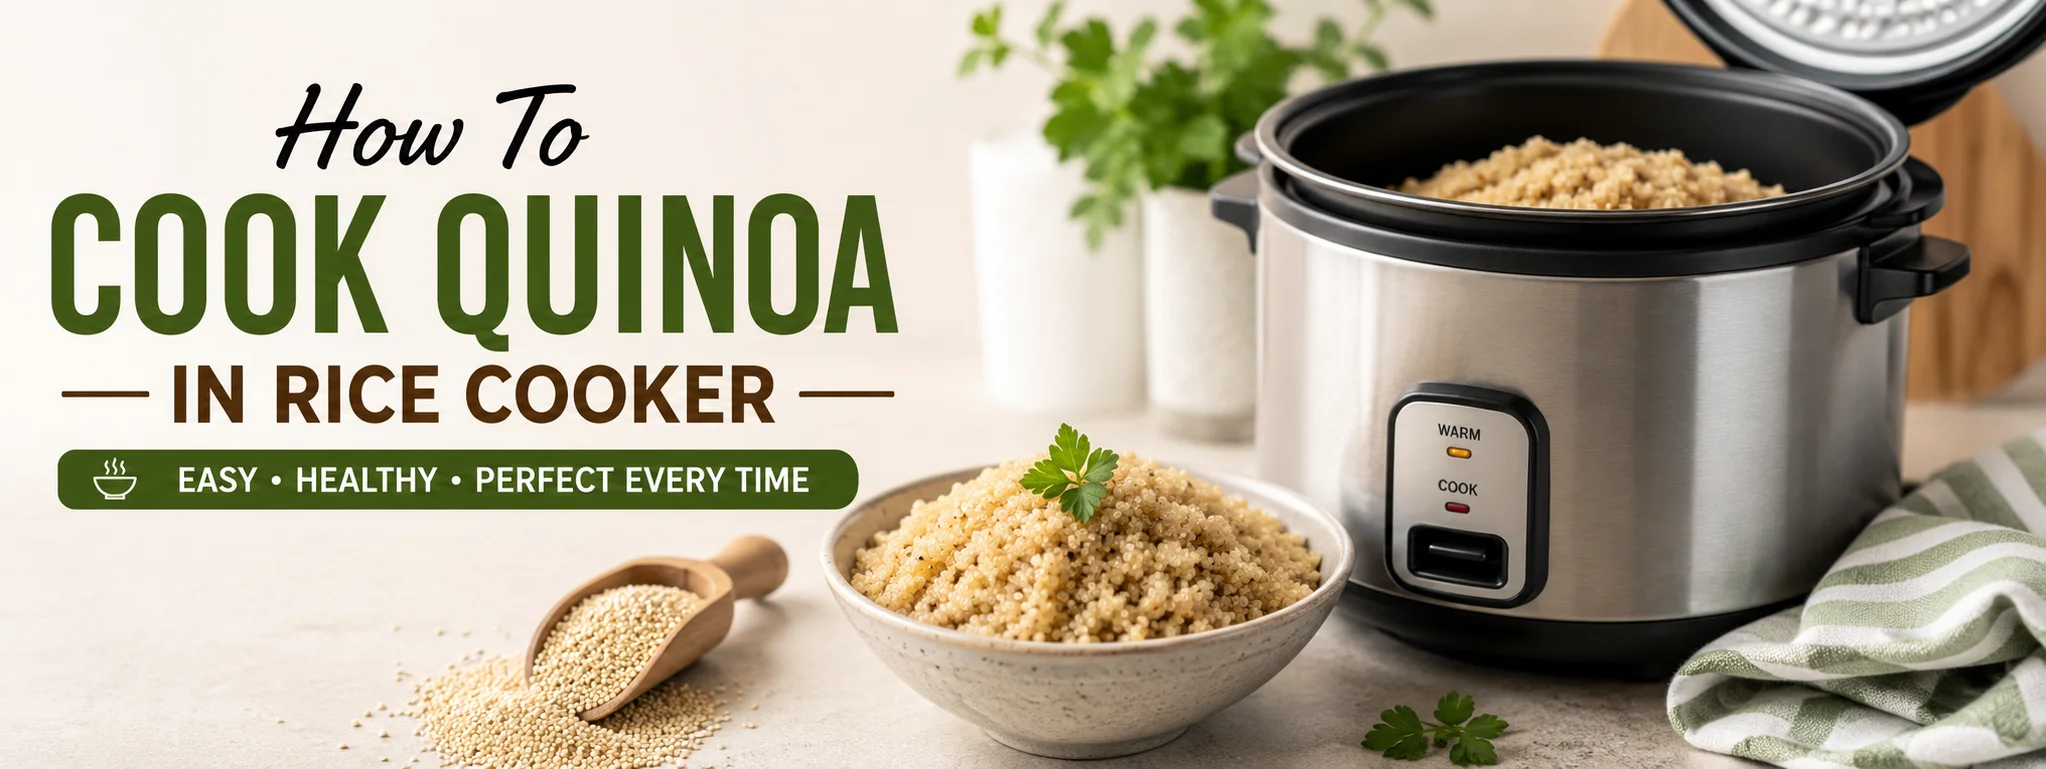
Cooking quinoa on the stovetop can feel like a delicate balancing act. Leave the burner a little too high, and the liquid boils over, scorching the bottom of your pan. Turn the heat down too low or add too much water, and you end up with a mushy, waterlogged mess. If you have ever fought with stovetop temperatures or struggled to get that light, separated texture, there is a far easier way: your rice cooker.
Using a rice cooker takes all the guesswork out of preparing quinoa. Because rice cookers regulate heat based on internal moisture levels, they automatically switch off when the liquid has been fully absorbed. This guide walks through everything you need to know to master rice cooker quinoa, including liquid-to-grain ratios, essential prep techniques, step-by-step cooking instructions, flavor enhancements, and storage tips.
Why Use a Rice Cooker for Quinoa?
While traditional stovetop methods work, a rice cooker offers clear operational advantages for weekly meal prep and busy weeknights:
-
Hands-off Convenience: Once you close the lid and press the start button, there is no need to monitor the pot, adjust heat levels, or worry about boil-overs.
-
Consistent Texture: Rice cookers distribute heat evenly and automatically detect when liquid is fully absorbed, giving you light, fluffy grains every single time.
-
Frees Up Stovetop Space: If you are preparing a multi-dish dinner, offloading your side dish to a counter appliance leaves your stove burners open for main courses and sauces.
-
Keep-Warm Feature: If your meal timing gets delayed, the rice cooker automatically shifts to a “Warm” setting, keeping the quinoa hot without drying it out or burning the bottom layer.
The Perfect Water-to-Quinoa Ratio
The most crucial variable when cooking quinoa in a rice cooker is getting the liquid-to-grain ratio right. While stovetop recipes often call for a 1:2 ratio (1 cup quinoa to 2 cups water), rice cookers trap steam far more effectively. Excess liquid cannot escape through evaporation, which means using a 1:2 ratio in a sealed appliance often leads to soggy quinoa.
For optimal texture, use a 1:1.75 ratio for standard white or tricolor quinoa, or 1:1.5 if you prefer a firmer, toothsome grain for cold salads.
| Quinoa Variety | Quinoa Quantity | Liquid Quantity | Cooker Setting | Yield (Cooked) |
| White Quinoa | 1 Cup (170g) | 1.75 Cups (420ml) | Standard / White Rice | ~3 Cups |
| Red Quinoa | 1 Cup (170g) | 1.75 Cups (420ml) | Standard / Brown Rice | ~3 Cups |
| Black Quinoa | 1 Cup (170g) | 1.75 Cups (420ml) | Brown Rice | ~3 Cups |
| Tricolor / Mixed | 1 Cup (170g) | 1.75 Cups (420ml) | Standard / White Rice | ~3 Cups |
Pre-Cooking Essentials: Rinsing & Toasting
Before dumping your ingredients into the pot, two simple prep steps will significantly improve the taste and texture of your finished dish.
1. Rinse to Remove Saponin
Quinoa seeds are coated in a naturally occurring chemical compound called saponin. Saponin acts as a natural defense mechanism against insects and birds in the wild. While harmless to digest, it tastes bitter and soapy.
Even if your package says “pre-rinsed,” it is best practice to rinse it again at home:
-
Place the dry quinoa in a fine-mesh strainer (standard colanders have holes too large for tiny quinoa seeds).
-
Hold under cold running tap water for 30–60 seconds.
-
Swirl the grains around with your hands until the water running through the bottom is completely clear and free of foam.
2. Toasting for Nutty Depth (Optional)
If you want to elevate your meal, take three minutes to toast the rinsed quinoa before cooking.
-
Hit the “Sauté” or “Cook” button on your open rice cooker (or use a dry skillet on the stove).
-
Add the drained quinoa and stir continuously until the water evaporates and the grains give off a warm, nutty aroma.
-
Proceed with the liquid and cooking cycle as usual.
Flavor Upgrades & Seasoning Variations
Cooking quinoa in plain water provides a neutral base, but infusing flavor into the cooking liquid elevates the entire dish:
-
Swap Water for Stock: Substitute water with vegetable, chicken, or beef broth. Broth adds depth and savory richness without extra calorie count.
-
Aromatics: Throw in a whole smashed garlic clove, a bay leaf, or a strip of lemon peel before closing the lid. Remove them before fluffing.
-
Healthy Fats: Adding 1 teaspoon of extra virgin olive oil, coconut oil, or grass-fed butter helps keep the individual grains separate and smooth.
-
Spiced Infusions: Stir in a pinch of ground cumin, smoked paprika, or turmeric powder along with the salt before cooking to match specific regional cuisines.
Troubleshooting Common Issues
Even with a rice cooker, minor missteps can happen. Here is how to fix them:
-
Quinoa is Mushy or Watery: You used too much liquid or skipped the 10-minute rest period. Next time, drop the liquid ratio to 1:1.5. To salvage a wet batch, spread it on a baking sheet and pop it into a 300°F (150°C) oven for 8–10 minutes to dry out.
-
Quinoa is Crunchy or Undercooked: Not enough liquid was added, or steam escaped during cooking. Sprinkle 2–3 tablespoons of warm water over the top, close the lid, and run another short cook cycle (or let it sit covered on “Warm” for an extra 10 minutes).
-
Quinoa Tastes Bitter: The saponin was not adequately rinsed off. Always use a fine-mesh strainer and rinse until the water runs completely clear.
Storage, Reheating, and Freeze Instructions
Quinoa holds up exceptionally well, making it ideal for bulk meal preparation:
-
Refrigeration: Allow the cooked quinoa to cool completely to room temperature. Transfer to an airtight glass container and store in the refrigerator for up to 5 days.
-
Freezing: Lay cooled quinoa on a parchment-lined baking sheet in a thin layer and freeze for 1 hour. Once solid, transfer the grains to a zip-top freezer bag. Freeze for up to 3 months. Freezing them flat first prevents clumping.
-
Reheating: Microwave covered with a damp paper towel for 60 seconds, or heat in a covered saucepan over medium-low heat with 1 tablespoon of water to restore moisture.
Final Thoughts
Using a rice cooker to prepare quinoa is the ultimate kitchen shortcut for achieving light, fluffy, and consistently cooked grains every single time. By adjusting your water ratio slightly lower than traditional stovetop recipes and allowing for a brief 10-minute steam rest after the cycle ends, you eliminate the risk of scorch marks or mushy textures. Whether you are batch-cooking for weekly meal prep or looking to free up stove space during dinner prep, letting your rice cooker handle the grain cooking delivers perfect results with zero guesswork.
1 thought on “How To Cook Quinoa In Rice Cooker: Price and How to Use it”