
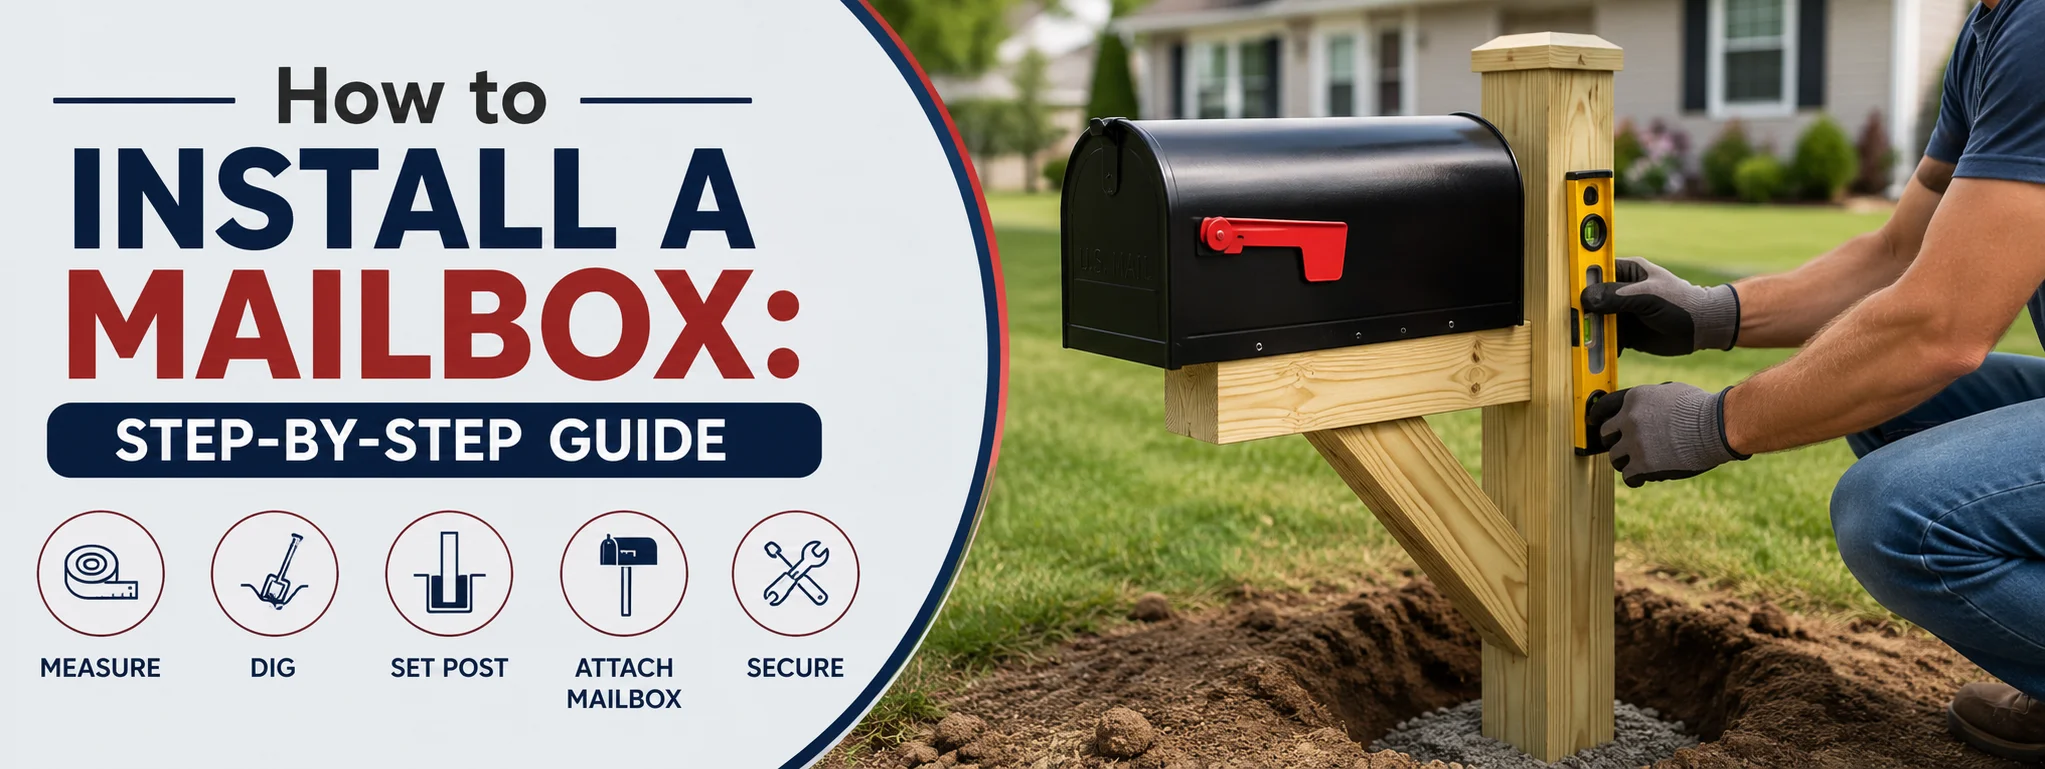
Installing a new mailbox is one of the easiest, most cost-effective DIY projects you can undertake to instantly boost your home’s curb appeal. Beyond Aesthetics, a sturdy, properly installed mailbox ensures your mail stays secure, dry, and easily accessible for your local mail carrier.
Regulations and Guidelines to Know Before You Begin
Before digging any holes or buying materials, it is critical to familiarize yourself with the rules set by the United States Postal Service (USPS) and local utility regulations.
USPS Mailbox Placement Standards
The USPS has specific guidelines designed to ensure carrier safety and efficient delivery. Violating these could result in your mail delivery being suspended until corrections are made.
-
Height: Place the mailbox so that the bottom of the box or the point of mail entry is 41 inches to 45 inches above the road surface.
-
Setback: Position the post 6 inches to 8 inches back from the curb or edge of the road. If your street does not have a curb, contact your local postmaster for specific guidance.
-
Labeling: Your house or apartment number must be clearly printed on the side or front of the mailbox using letters at least 1 inch tall. If your box is located on a street different from your home, put your full street address on it.
-
Door Safety: Ensure the mailbox door opens easily without obstructing traffic or requiring the mail carrier to step out of their vehicle.
Call 811 Before You Dig
Safety comes first. Always call 811 (or your local utility location service) a few days before digging. They will mark buried utility lines—such as gas, electrical, water, or internet cables—for free. Digging into an underground power line or water main can lead to severe injury, costly repairs, and hefty fines.
Required Tools and Materials
Having everything ready before starting will make the project smooth and hassle-free.
Tools
-
Digging tools (Post-hole digger, shovel, and a tamping bar)
-
Carpenter’s level (preferably a post level)
-
Tape measure
-
Cordless drill and driver bits
-
Bucket or wheelbarrow for mixing concrete
-
Stirring paddle or hoe
-
Safety glasses and work gloves
Materials
-
4×4 pressure-treated wooden post (or a prefabricated vinyl/metal mailbox post kit)
-
Mailbox and mounting bracket
-
Quick-setting concrete mix (1 to 2 bags, 50 lbs each)
-
Fast-setting screws or exterior-grade deck screws
-
Gravel or crushed stone (about 1 bag for drainage)
-
Water (for mixing concrete)
Step 1: Remove the Old Mailbox and Post
If you are replacing an existing mailbox, start by removing it completely.
-
Detach the Box: Unfasten the screws or bolts holding the old mailbox to its mounting bracket.
-
Remove the Post: Wiggle the old post back and forth to loosen it from the ground. If it is set in concrete, you may need to dig around the base to free the concrete plug. Use a long 2×4 board as a lever to pry the post out if it is stuck.
-
Clear the Hole: Remove any leftover debris, roots, or old concrete chunks from the workspace.
Step 2: Dig the Post Hole
The stability of your post depends entirely on the depth and quality of your hole.
-
Calculate the Depth: A standard rule of thumb is to bury the post to a depth equal to one-third of its total length, or below the local frost line to prevent ground upheaval during winter. Generally, a hole 18 inches to 24 inches deep is sufficient for mailbox posts.
-
Width: Dig the hole roughly 10 inches to 12 inches wide—roughly three times the width of a standard 4×4 post.
-
Add Drainage: Pour 2 to 3 inches of gravel or crushed stone into the bottom of the hole. This prevents moisture from pooling directly under the wood, which prevents rot.
Step 3: Set and Level the Post
Proper positioning ensures your mailbox meets USPS height requirements after the post is secured.
-
Test Fit: Place the 4×4 post into the hole on top of the gravel base.
-
Measure Height: Measure from the road surface to the spot on the post where the mailbox floor will rest. Adjust the depth of your gravel layer until the target height falls precisely within the 41-to-45-inch range.
-
Plumb the Post: Attach a post level (or hold a regular level against two adjacent sides of the post) to ensure it stands completely straight. Use temporary scrap wood braces screwed into the post and staked into the ground to keep it securely upright while pouring concrete.
Step 4: Pour the Concrete
While some homeowners tamp dirt or gravel around the post, quick-setting concrete offers maximum stability against wind, snowplows, and minor impacts.
-
Mix or Pour Dry: You can either pre-mix fast-setting concrete in a wheelbarrow with water according to manufacturer instructions, or pour the dry concrete mix directly into the hole surrounding the post and add water on top.
-
Fill the Hole: Fill the hole with concrete up to 3 to 4 inches below ground level. Leaving space at the top allows you to cover the concrete with dirt and grass sod later, blending the installation seamlessly into your lawn.
-
Remove Air Pockets: Poke a stick or rod into the wet concrete several times to release trapped air bubbles.
-
Final Check: Double-check your level and measurements one last time while the concrete is still workable.
-
Cure: Fast-setting concrete typically sets within 20 to 40 minutes and fully cures in 4 hours. Allow it to sit undisturbed.
Step 5: Mount the Mailbox to the Post
Once the concrete base has hardened, it is time to attach your mailbox.
-
Attach the Mounting Bracket: Secure the mounting bracket or wooden adapter board to the top (or arm) of the post using exterior-grade galvanized or stainless-steel deck screws.
-
Secure the Mailbox: Place the mailbox onto the bracket. Fasten it securely according to the manufacturer’s instructions. Ensure the screws are tight so the box does not wobble.
-
Check the Door Operation: Open and close the mailbox door to verify it operates smoothly without catching or binding on any mounting hardware.
Step 6: Finishing Touches
-
Refill the Hole: Backfill the remaining 3 to 4 inches of space above the cured concrete with topsoil. Pack it down firmly and lay grass seed or sod over the area.
-
Add Street Numbers: Apply self-adhesive, weather-resistant house numbers to the side of the mailbox facing approaching traffic (or on both sides). Ensure they are clearly visible from the street.
-
Inspect Your Work: Step back and inspect the mailbox from the road to confirm it is plumb, sturdy, and compliant with all postal standards.
Frequently Asked Questions
1. Do I have to use concrete to set a mailbox post?
While concrete provides the highest stability, it is not strictly required unless dictated by local regulations. You can set a post by tightly packing layers of crushed gravel and dense soil around it every few inches. However, using fast-setting concrete ensures your post won’t lean over time due to ground shifting, heavy rain, or heavy mail loads.
2. What should I do if a snowplow knocks down my mailbox?
If you live in an area with harsh winters, install your post 8 inches back from the curb to minimize the chance of contact with snowplows. Using a breakaway post or a flexible mounting bracket can also prevent structural damage when heavy snow is thrown against the box.
3. Can I install a mailbox anywhere on my property edge?
No. Mailbox placement must adhere strictly to USPS guidelines and be accessible from the carrier’s vehicle without obstruction. If you are relocating a mailbox to a completely new spot on your property, you must contact your local postmaster for approval before installing it.
4. What type of wood is best for a mailbox post?
Pressure-treated cedar, redwood, or pressure-treated pine are the best choices for exterior posts because they naturally resist moisture, rot, and insect damage. Vinyl and powder-coated aluminum posts are also low-maintenance alternatives that will not rot.
5. Why must a mailbox post yield or break away during an impact?
Federal Highway Administration safety regulations state that mailbox supports should be able to yield or collapse if struck by a vehicle to prevent serious injury to drivers. Avoid using heavy steel girders, concrete pillars, or thick tree trunks as posts directly adjacent to high-speed roadways.
Final Thoughts
Installing a mailbox is an achievable weekend project that offers immediate visual rewards and functional upgrades for your home. By taking accurate measurements, adhering to USPS standards, and building a solid foundation with concrete, your new mailbox will stand strong against the elements and daily use for years to come. Take your time during the preparation and leveling phases, call 811 before digging, and enjoy your updated curb appeal!