
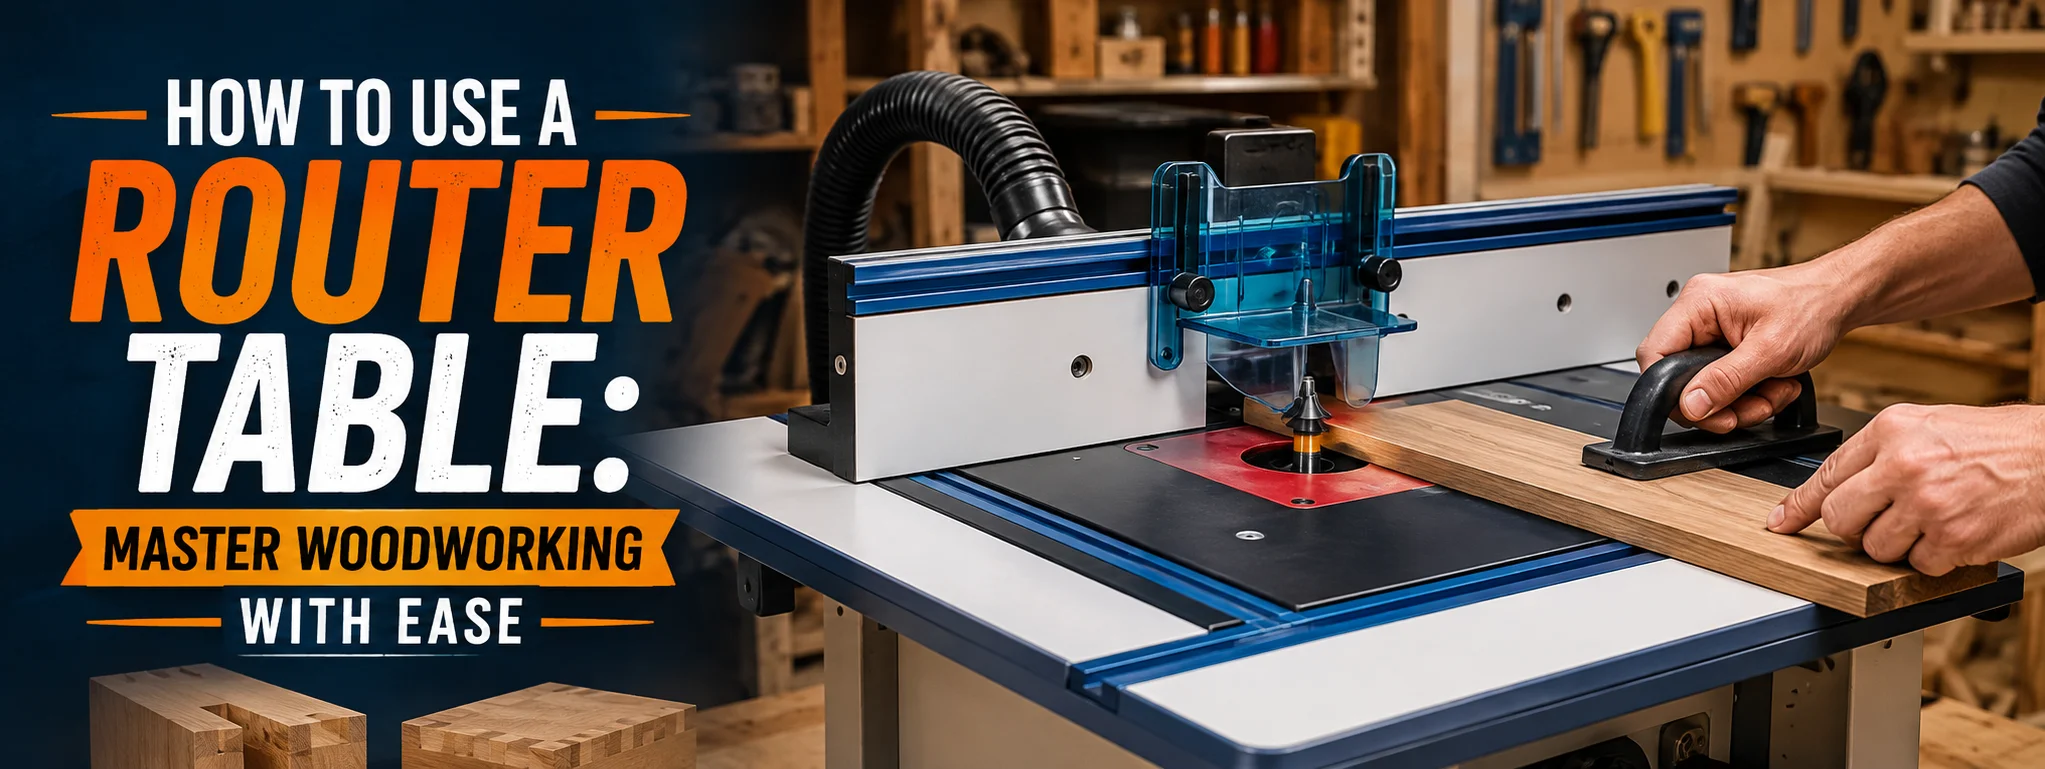
A router table is one of the most useful tools in a woodworking workshop. It turns a handheld router into a stable, controlled cutting machine, making it easier to create clean edges, grooves, profiles, joints, and decorative details. Whether you are a beginner or an experienced woodworker, learning how to use a router table properly can improve both the quality and consistency of your projects.
What Is a Router Table?
A router table is a woodworking station that holds a router upside down beneath a flat tabletop. The router bit extends through an opening in the table, allowing you to guide the workpiece across the bit.
Unlike using a router by hand, a router table provides a fixed surface and fence. This makes it especially useful for working on narrow pieces, producing repeated cuts, and creating precise edge profiles.
Why Use a Router Table?
A router table offers several advantages:
- Better control over the workpiece
- More consistent cuts
- Easier edge profiling
- Convenient groove and dado cutting
- Improved accuracy for repeated pieces
- Greater stability when working with small or narrow boards
Router Table Price Guide
The price of a router table varies depending on its size, construction, features, and brand. Here is a general guide to help you understand the typical cost range.
| Router Table Type | Typical Price Range | Best For |
|---|---|---|
| Basic tabletop model | $80–$150 | Beginners |
| Mid-range router table | $150–$300 | Regular woodworking |
| Heavy-duty table | $300–$600+ | Advanced users |
| Professional router table system | $600–$1,000+ | Workshops and professionals |
Prices can vary significantly depending on the router, lift system, fence, accessories, and manufacturer.
Essential Tools and Accessories
Before using a router table, make sure you have the necessary equipment. The router table itself should have a stable surface, a reliable fence, and a suitable router mount or lift.
You may also need:
- Appropriate router bits
- Push blocks or push sticks
- Safety glasses
- Hearing protection
- Dust collection equipment
- Measuring tape or ruler
- Combination square
- Clamps
- Featherboards
Choose the Right Router Bit
The router bit determines the type of cut you can make. Common options include straight bits, round-over bits, chamfer bits, rabbeting bits, and flush-trim bits.
Always choose a bit designed for the material and operation you are performing. Inspect the bit before use and make sure it is properly installed in the router collet.
How to Set Up a Router Table
Correct setup is essential for safe and accurate woodworking.
1. Install the Router
Disconnect the router from power before installing or changing a bit. Secure the router underneath the table according to the manufacturer’s instructions.
Make sure the router is firmly attached and cannot move during operation.
2. Install the Router Bit
Choose the appropriate bit for your project and insert the shank securely into the collet. Avoid inserting the bit too shallowly or forcing it into the collet.
Tighten the collet properly using the recommended procedure.
3. Adjust the Bit Height
Set the cutting height according to the desired profile. For a first attempt, it is usually better to remove a small amount of material rather than trying to make a deep cut in one pass.
Make test cuts on scrap wood before working on your actual project.
4. Adjust the Fence
Position the fence so that the workpiece is properly supported. The fence should provide a smooth guiding surface while leaving enough room for the router bit to perform the intended cut.
For greater precision, use a straight edge or measuring tool to verify the fence position.
How to Use a Router Table
Once the table is correctly set up, you can begin routing.
Start With a Test Piece
Never make your first cut directly on an expensive project board. Use a piece of scrap wood with similar thickness and material.
Run the test piece through the router and inspect the result. Adjust the bit height or fence if necessary.
Feed the Wood in the Correct Direction
One of the most important router table rules is understanding feed direction.
When looking down at a typical router table, the bit rotates in a direction that means the workpiece should generally be fed against the rotation of the bit. This gives you better control and reduces the chance of the router pulling the workpiece forward unexpectedly.
Never climb-cut unless you fully understand the technique and have a specific reason to use it.
Maintain Steady Pressure
Keep the workpiece firmly against the table and fence while moving it at a controlled, steady speed.
Avoid stopping in the middle of a cut unless necessary because stopping can create burn marks or uneven surfaces.
For long boards, use appropriate outfeed support so the material remains stable throughout the cut.
Common Router Table Operations
A router table can perform many woodworking tasks.
Edge Profiling
Round-over and chamfer bits are commonly used to shape board edges. These profiles can make furniture components look more finished and professional.
Cutting Grooves
Straight router bits can create grooves for shelves, panels, and other woodworking joints. Use multiple shallow passes when a deeper groove is required.
Rabbets
A rabbeting bit can remove material from the edge of a board to create a stepped profile. Rabbets are useful for cabinet backs, frames, and joinery.
Decorative Profiles
Specialized router bits can create detailed decorative edges. These are often used on furniture, trim, doors, and cabinetry.
Router Table Safety Tips
Safety should always be your priority when operating a router table.
Wear Protective Equipment
Wear safety glasses to protect your eyes from flying chips and dust. Hearing protection is also recommended because routers can produce significant noise.
Keep Hands Away From the Bit
Never place your fingers near a spinning router bit. Use push blocks, push sticks, and featherboards when appropriate, especially when routing narrow workpieces.
Disconnect Power Before Adjustments
Always unplug or disconnect the router from its power source before changing bits, adjusting components, or performing maintenance.
Use Dust Collection
Routing produces a considerable amount of wood dust. A suitable dust-collection system can keep the workspace cleaner and reduce airborne dust.
Inspect the Setup
Before switching on the router, check that the bit is tight, the fence is secure, the workpiece path is clear, and all guards or safety accessories are correctly positioned.
Tips for Better Router Table Results
Start with sharp, high-quality router bits and clean them regularly. Make shallow passes instead of removing large amounts of material at once. This reduces strain on the router and usually produces a cleaner finish.
When working on several identical pieces, create a consistent setup and test it carefully before routing all the boards. Keeping measurements and fence positions consistent can save time and reduce material waste.
It is also helpful to practice on scrap wood. A few minutes of testing can help you understand how a particular bit behaves before you begin working on valuable material.
Final Thoughts
Learning how to use a router table can take your woodworking skills to another level. With the right setup, suitable router bits, controlled feeding, and proper safety practices, you can create accurate edges, grooves, joints, and decorative profiles with much greater consistency.
1 thought on “How to Use a Router Table: Master Woodworking with Ease”